Burn multiple ISOs on one thumb drive
As a computer science engineer, especially if you manage DevOps tools and infrastructure, or simply like to do a bit of shadow IT, there comes a time when you will have to install OSes (operating systems) on machines.
After doing that for a while, you will eventually face a problem: managing multiple OSes across your machine fleet.
Switching from Windows Server to Ubuntu Server, upgrading Ubuntu LTS versions… and every time, it’s the same old story:
- Downloading the OS ISO
- Finding an empty and usable thumb drive (and ending up buying a new one)
- Burning the ISO onto the (new) thumb drive
- Losing the thumb drive once the task is done
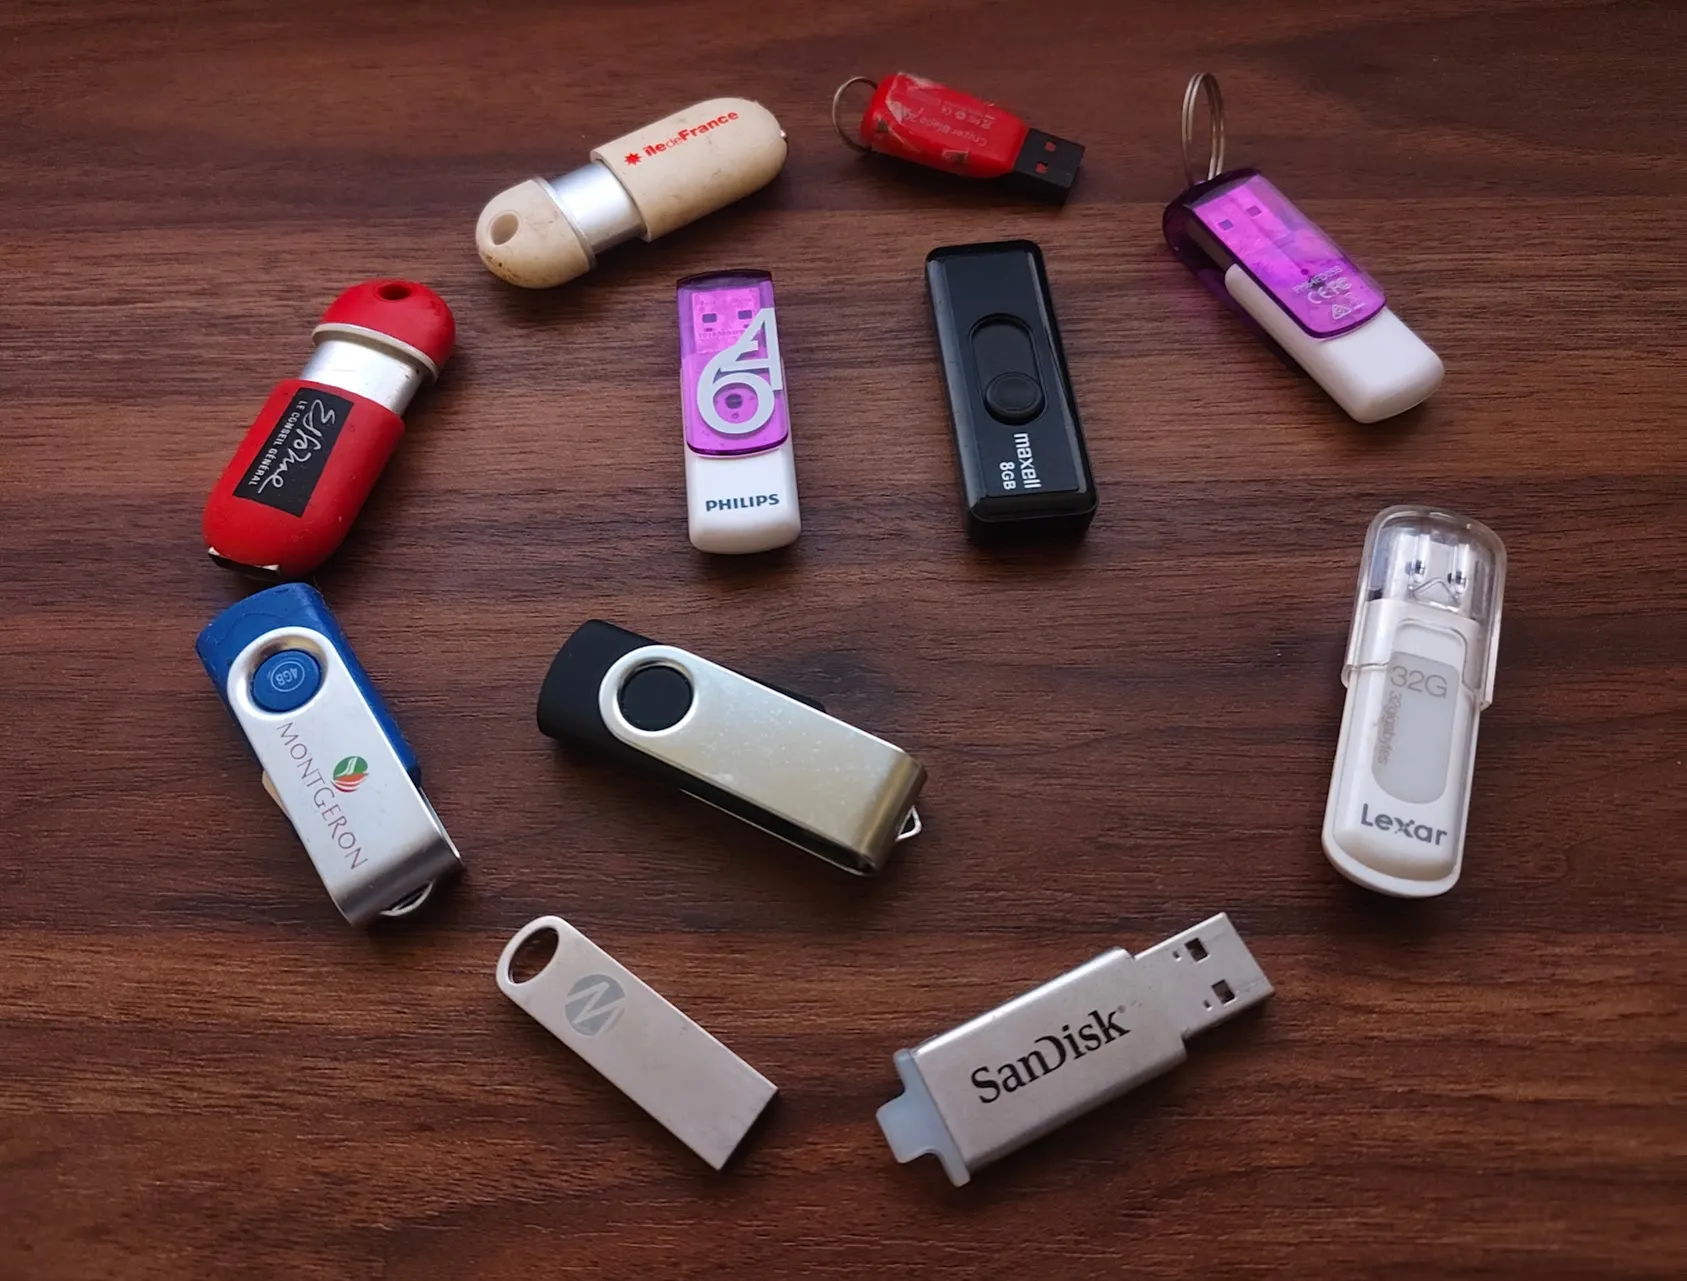
There is a time when laziness must have a purpose: efficiency. And if you are like me, you will appreciate finding ways to avoid redundant tasks. Here is my way of dodging the bullet of repetitiveness (and to stop financing SanDisk).
And we have a concrete reason to do it right now: our first homelab is assembled, and its three ThinkCentre machines are waiting for an OS. In this article we set up the thumb drive, and at the end we use it to install Ubuntu Server on all three of them.
Overview of existing solutions
So, in other words, we are looking for a multiboot USB setup. The easiest modern solutions are:
- Ventoy → best overall for Linux ISOs, Windows installers, utilities.
- YUMI → good traditional multiboot creator.
- Easy2Boot → very advanced/powerful.
(Or doing it the old and hard way with a manual GRUB setup… nope, just kidding.)
I ended up using Ventoy, following ChatGPT’s recommendation based on my needs at the time (building my homelab). Since then, I never felt the urge to change: this tool is really simple and practical.
Ventoy in a nutshell
Instead of “burning” one ISO at a time on a new thumb drive, Ventoy installs a tiny bootloader onto the USB stick once. Then, after this one-time initial setup:
- You simply copy the ISO files of your choice onto the USB drive
- Boot from the USB drive
- Choose the ISO from the Ventoy menu
One thumb drive to rule them all!
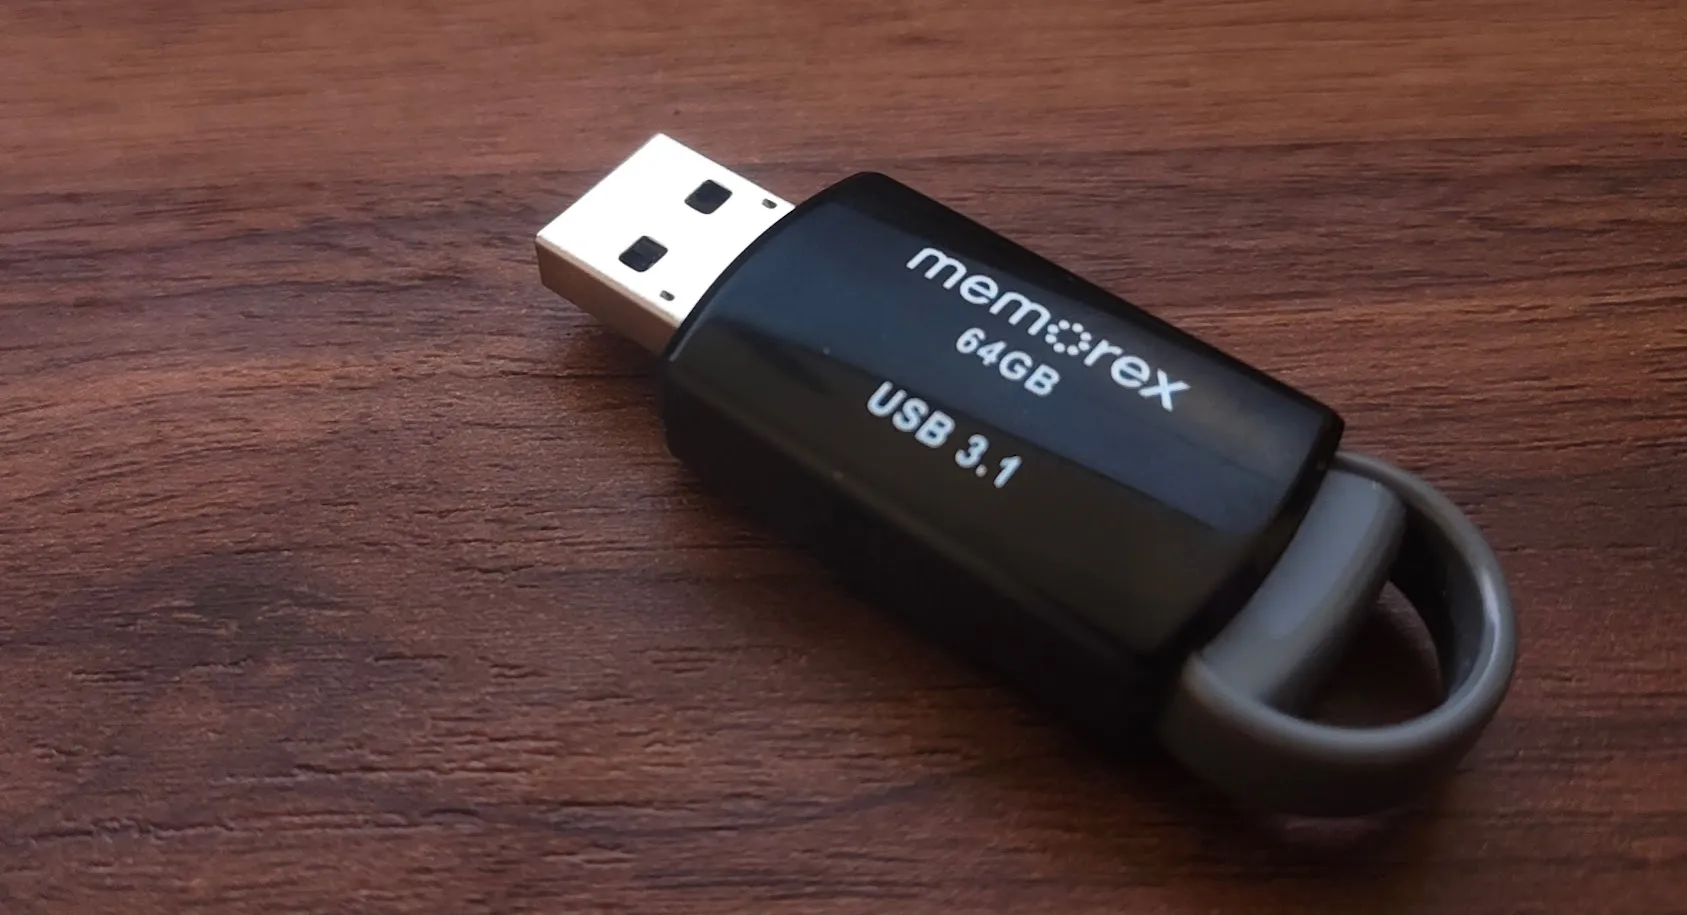
No more reformatting every time: everything lives on a single USB drive you will cherish and never lose again. It supports:
- Linux distros
- Windows installers
- Rescue tools
- Hypervisor ISOs
- Firmware utilities
Examples:
- Ubuntu
- Debian
- Fedora
- Windows 11
- Proxmox VE
- GParted
Some advanced features Ventoy also supports:
- Persistence for Linux live systems
- Secure Boot
- ISO folders/categories
- Plugins/themes
- Auto-install scripts
- Booting from VHD/VHDX/WIM/IMG files
Ventoy covers 95% of manual GRUB multiboot use cases with much less effort. Documentation: Ventoy Documentation
How to use Ventoy
Setup
So, let’s get to work:
- Download Ventoy: Ventoy Official Website, or the source code: Ventoy GitHub
- Plug in your USB drive and find it on your system (on Linux: run
lsblkand look for something like/dev/sdX; on Windows: just check your devices in the File Explorer) - Extract the Ventoy archive and run the Ventoy2Disk script:
- On Linux (replace
/dev/sdXwith your USB drive):
tar -xzf ventoy-*.tar.gz
cd ventoy-*/
sudo ./Ventoy2Disk.sh -i /dev/sdX- On Windows, extract the archive with the right-click menu, double-click on
Ventoy2Disk.exe, then select your thumb drive in the window that appears.
Warning
This operation erases the USB drive. Double-check the device name before running it: picking the wrong one will wipe one of your disks.
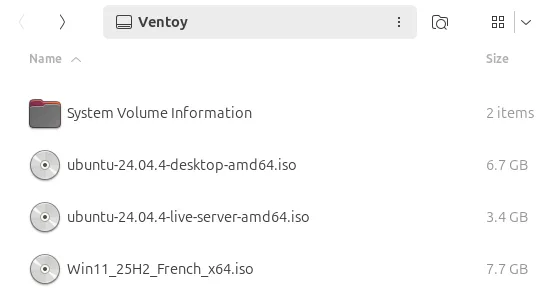
After installation, the USB drive behaves like a normal storage drive, so adding an ISO is just a copy.
Example:
cp ubuntu.iso /media/$USER/Ventoy/
cp windows11.iso /media/$USER/Ventoy/
cp proxmox.iso /media/$USER/Ventoy/
That’s it. You should see something like this on the drive:
Boot from USB
When your PC starts:
- Select the USB drive in the boot menu
- The Ventoy menu appears
- Choose the ISO to launch
Recommended specs
The size depends on what kind of ISOs you want to store, but a good rule of thumb (drive) is a minimum of 32 GB, and if you plan to store multiple Windows images, go for 128 GB or more to be safe. In terms of speed, go for USB 3.1: the faster the better to copy big ISOs and boot.
In my case, I am using a 64 GB USB 3.1 thumb drive with half a dozen ISOs.
Our use case: Ubuntu Server on the homelab
Now let’s put the thumb drive to work on our first homelab: three Lenovo ThinkCentre Tiny PCs (two M910q and one M920q) that will become the nodes of our first orchestrated cluster.
A few notes before starting:
- Which OS: we install Ubuntu Server LTS on all three machines. It is headless (no desktop to waste RAM on), well documented, and a common base for Kubernetes distributions. Download the latest LTS ISO from the Ubuntu Server download page and copy it onto the Ventoy drive, next to your other ISOs.
- Screen and keyboard: thanks to the shelves’ pass-through ports, we plug a screen into the front HDMI port of the shelf, and the thumb drive and a keyboard into the front USB ports of the ThinkCentre. No need to open the back of the rack.
- Boot menu: on the ThinkCentres, press F12 repeatedly at power-on to open the boot menu and select the USB drive (F1 opens the BIOS setup).
- Secure Boot: if Secure Boot is enabled, the first Ventoy boot shows a “Verification failed” screen. Either follow the Ventoy Secure Boot guide to enroll its key once per machine, or disable Secure Boot in the BIOS.
- During the install:
- give each machine a clear and unique hostname (for example
node-1,node-2,node-3), it will make the cluster much easier to read later, - use the whole 512 GB SSD,
- enable the OpenSSH server and import your public SSH key, so that from now on we can manage the machines remotely, just like our VPS,
- skip the optional snaps: we will install what we need ourselves.
- give each machine a clear and unique hostname (for example
- Unplug before reboot: when the installer asks you to remove the installation medium, pull the thumb drive out, plug it into the next machine, and repeat.
Note
Repeating the same answers three times is fine for three machines. For a bigger fleet, Ventoy’s auto-install plugin can feed an Ubuntu autoinstall (cloud-init) file to the installer, for a fully unattended setup.
Once the three installs are done, each machine boots on its own SSD, is reachable over SSH, and the screen can go back in the drawer. They are now ready to become our cluster.
In conclusion
Over the past dew years, this ventoy little trick had a good return on the investment of my time, and I hope it will for you too!
Happy coding 🚀
Where this post fits
This post, its tags, and everything they connect to. Open the full graph →
Nothing to map yet — tag a post, or link two posts together, to see them here.
No posts or tags match your search.