First homelab: a first step toward orchestration
Now that we have our first minimal infrastructure running on a VPS, we want more machines so we can build our first orchestrated cluster. Renting several VPS gets expensive quickly, so let’s build our first homelab instead.
What we will end up with:
- three small but capable machines (12 physical cores and 48 GB of RAM in total),
- all of them powered from a single wall socket,
- a tidy 10-inch rack with a switch and a patch panel,
- room left for future machines and projects.
The shopping list
Network
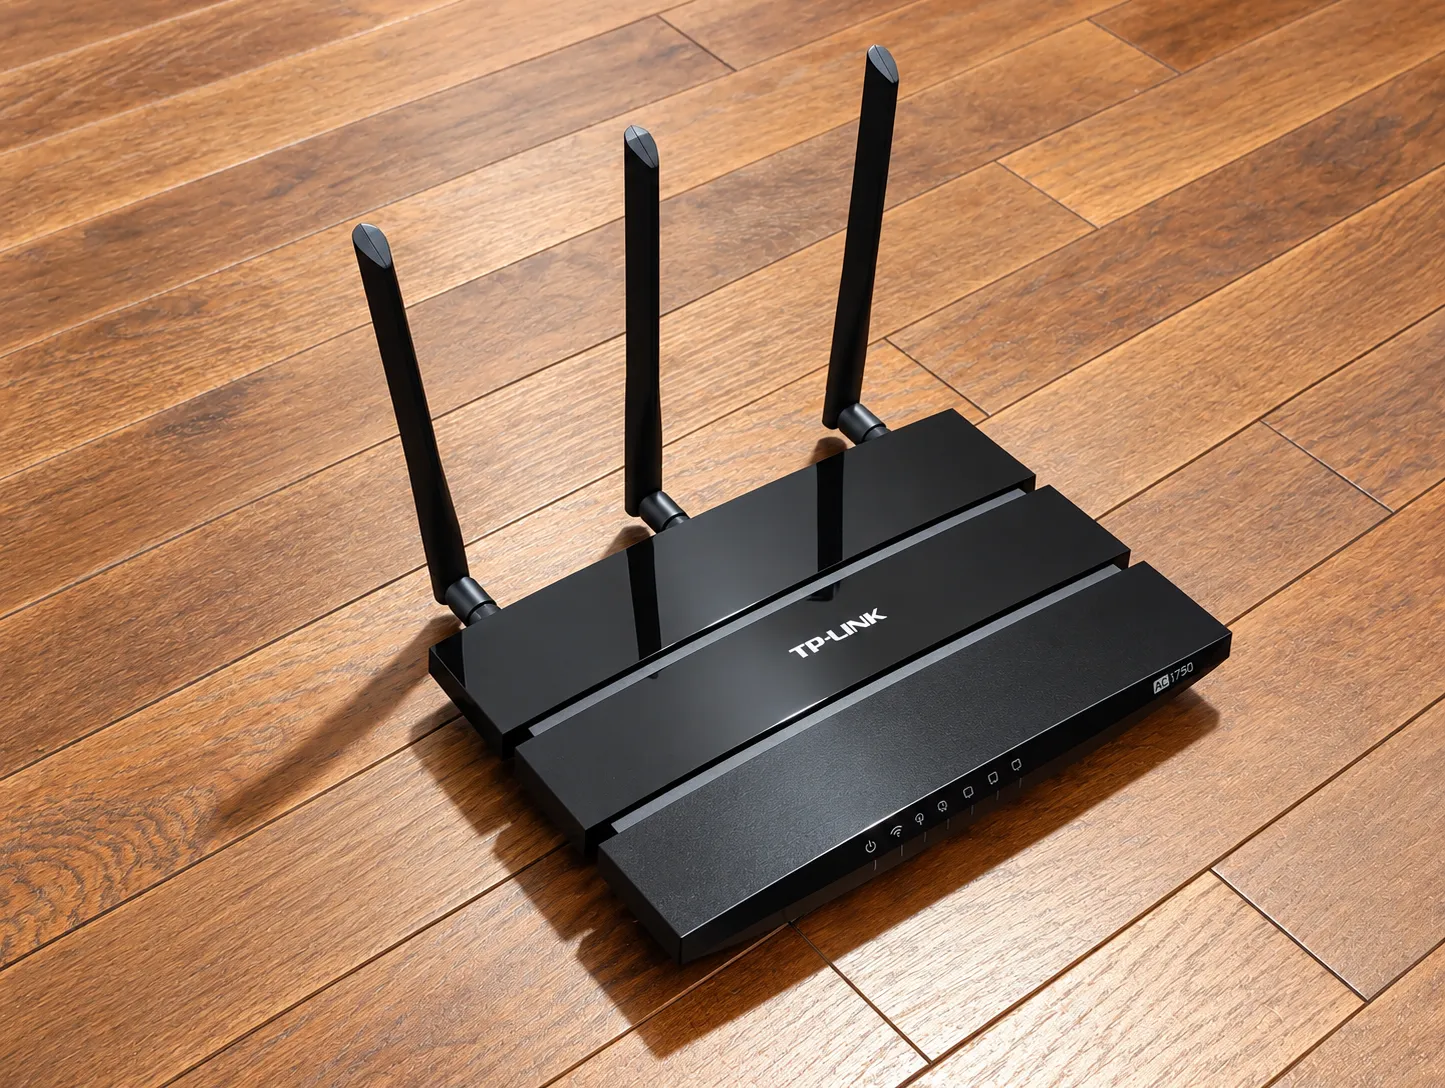
- Router: the TP-Link Archer C7 v2.0 (AC1750) we already had at home.
- Switch: 1 x UGREEN Gigabit Ethernet switch, 8 ports (10/100/1000 Mbps).
- Patch panel: 1 x 12-port CAT6 patch panel, 0.5U, made for 10-inch racks (DeskPi RackMate T0/T1/T2).
- A few short Ethernet cables.
Machines
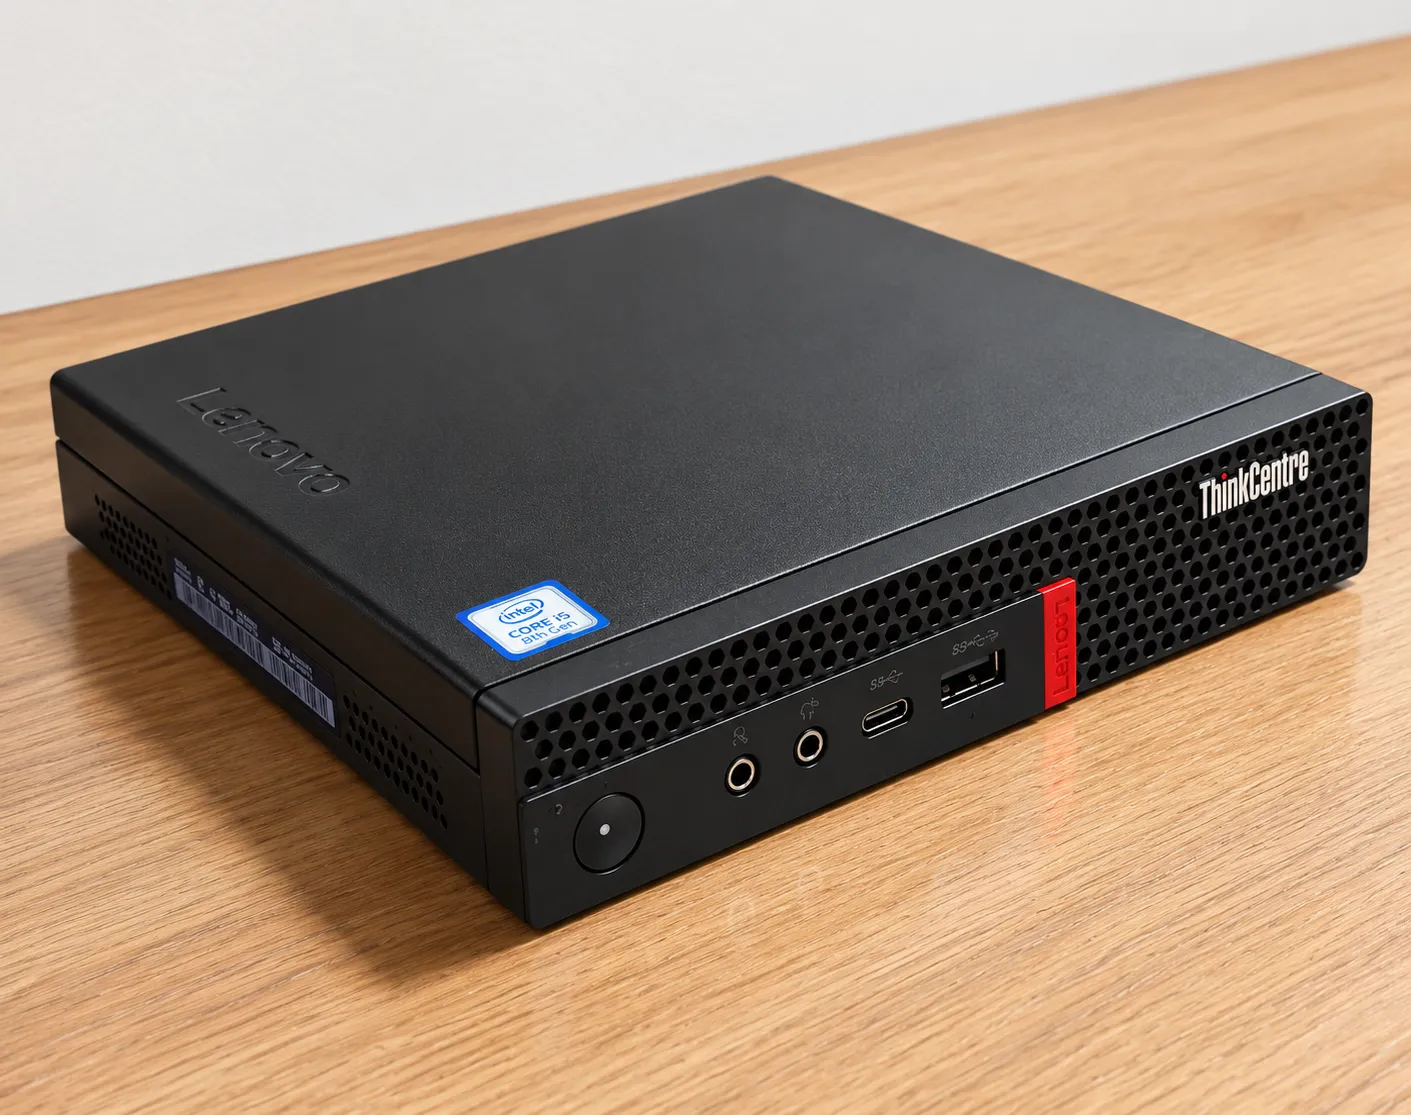
Refurbished Lenovo ThinkCentre Tiny PCs are a great fit for a homelab: they are cheap, quiet, low power, and they still pack a real desktop CPU. We are using three of them:
| 2 x ThinkCentre M910q Tiny | 1 x ThinkCentre M920q Tiny | |
|---|---|---|
| CPU | Intel Core i7-6700T, 2.8 GHz (3.6 GHz turbo), 4 cores / 8 threads | Intel Core i5-8400T, 1.7 GHz (3.3 GHz turbo), 6 cores / 6 threads |
| GPU | Intel HD Graphics 530 | Intel UHD Graphics 630 |
| RAM | 16 GB DDR4 SO-DIMM (2 slots, up to 32 GB) | 16 GB DDR4 SO-DIMM (up to 32 GB) |
| Storage | 512 GB 2.5” SATA SSD | 512 GB 2.5” SATA SSD |
| Network | 1 x RJ-45 Gigabit Ethernet | 1 x RJ-45 Gigabit Ethernet |
| Video | 2 x DisplayPort (up to 4K @ 60 Hz) | 1 x HDMI, 1 x DisplayPort |
| USB | front: 2 x USB 3.1 Gen1 / back: 4 x USB 3.1 Gen1 | front: 1 x USB-C 3.1 Gen1, 1 x USB 3.1 Gen1 / back: 2 x USB 3.1 Gen2, 2 x USB 3.1 Gen1 |
| Power | external Lenovo slim-tip adapter | external Lenovo slim-tip adapter |
| Weight | 1.3 kg | 1.4 kg |
Rack and accessories
- Rack: 1 x 10-inch 15U server rack with a lockable glass door (312 x 310 x 752 mm).
- Shelves: 3 x GeeekPi 10-inch 1U mini PC shelves, with RJ45 CAT6 and HDMI pass-through ports on the front.
- Video cables: 3 x DisplayPort to HDMI cables (0.9 m), to bring each machine’s display output to its shelf’s front HDMI port.
- Power strip: 1 x iwillink 10-inch 4-way power strip with a 2 m cable.
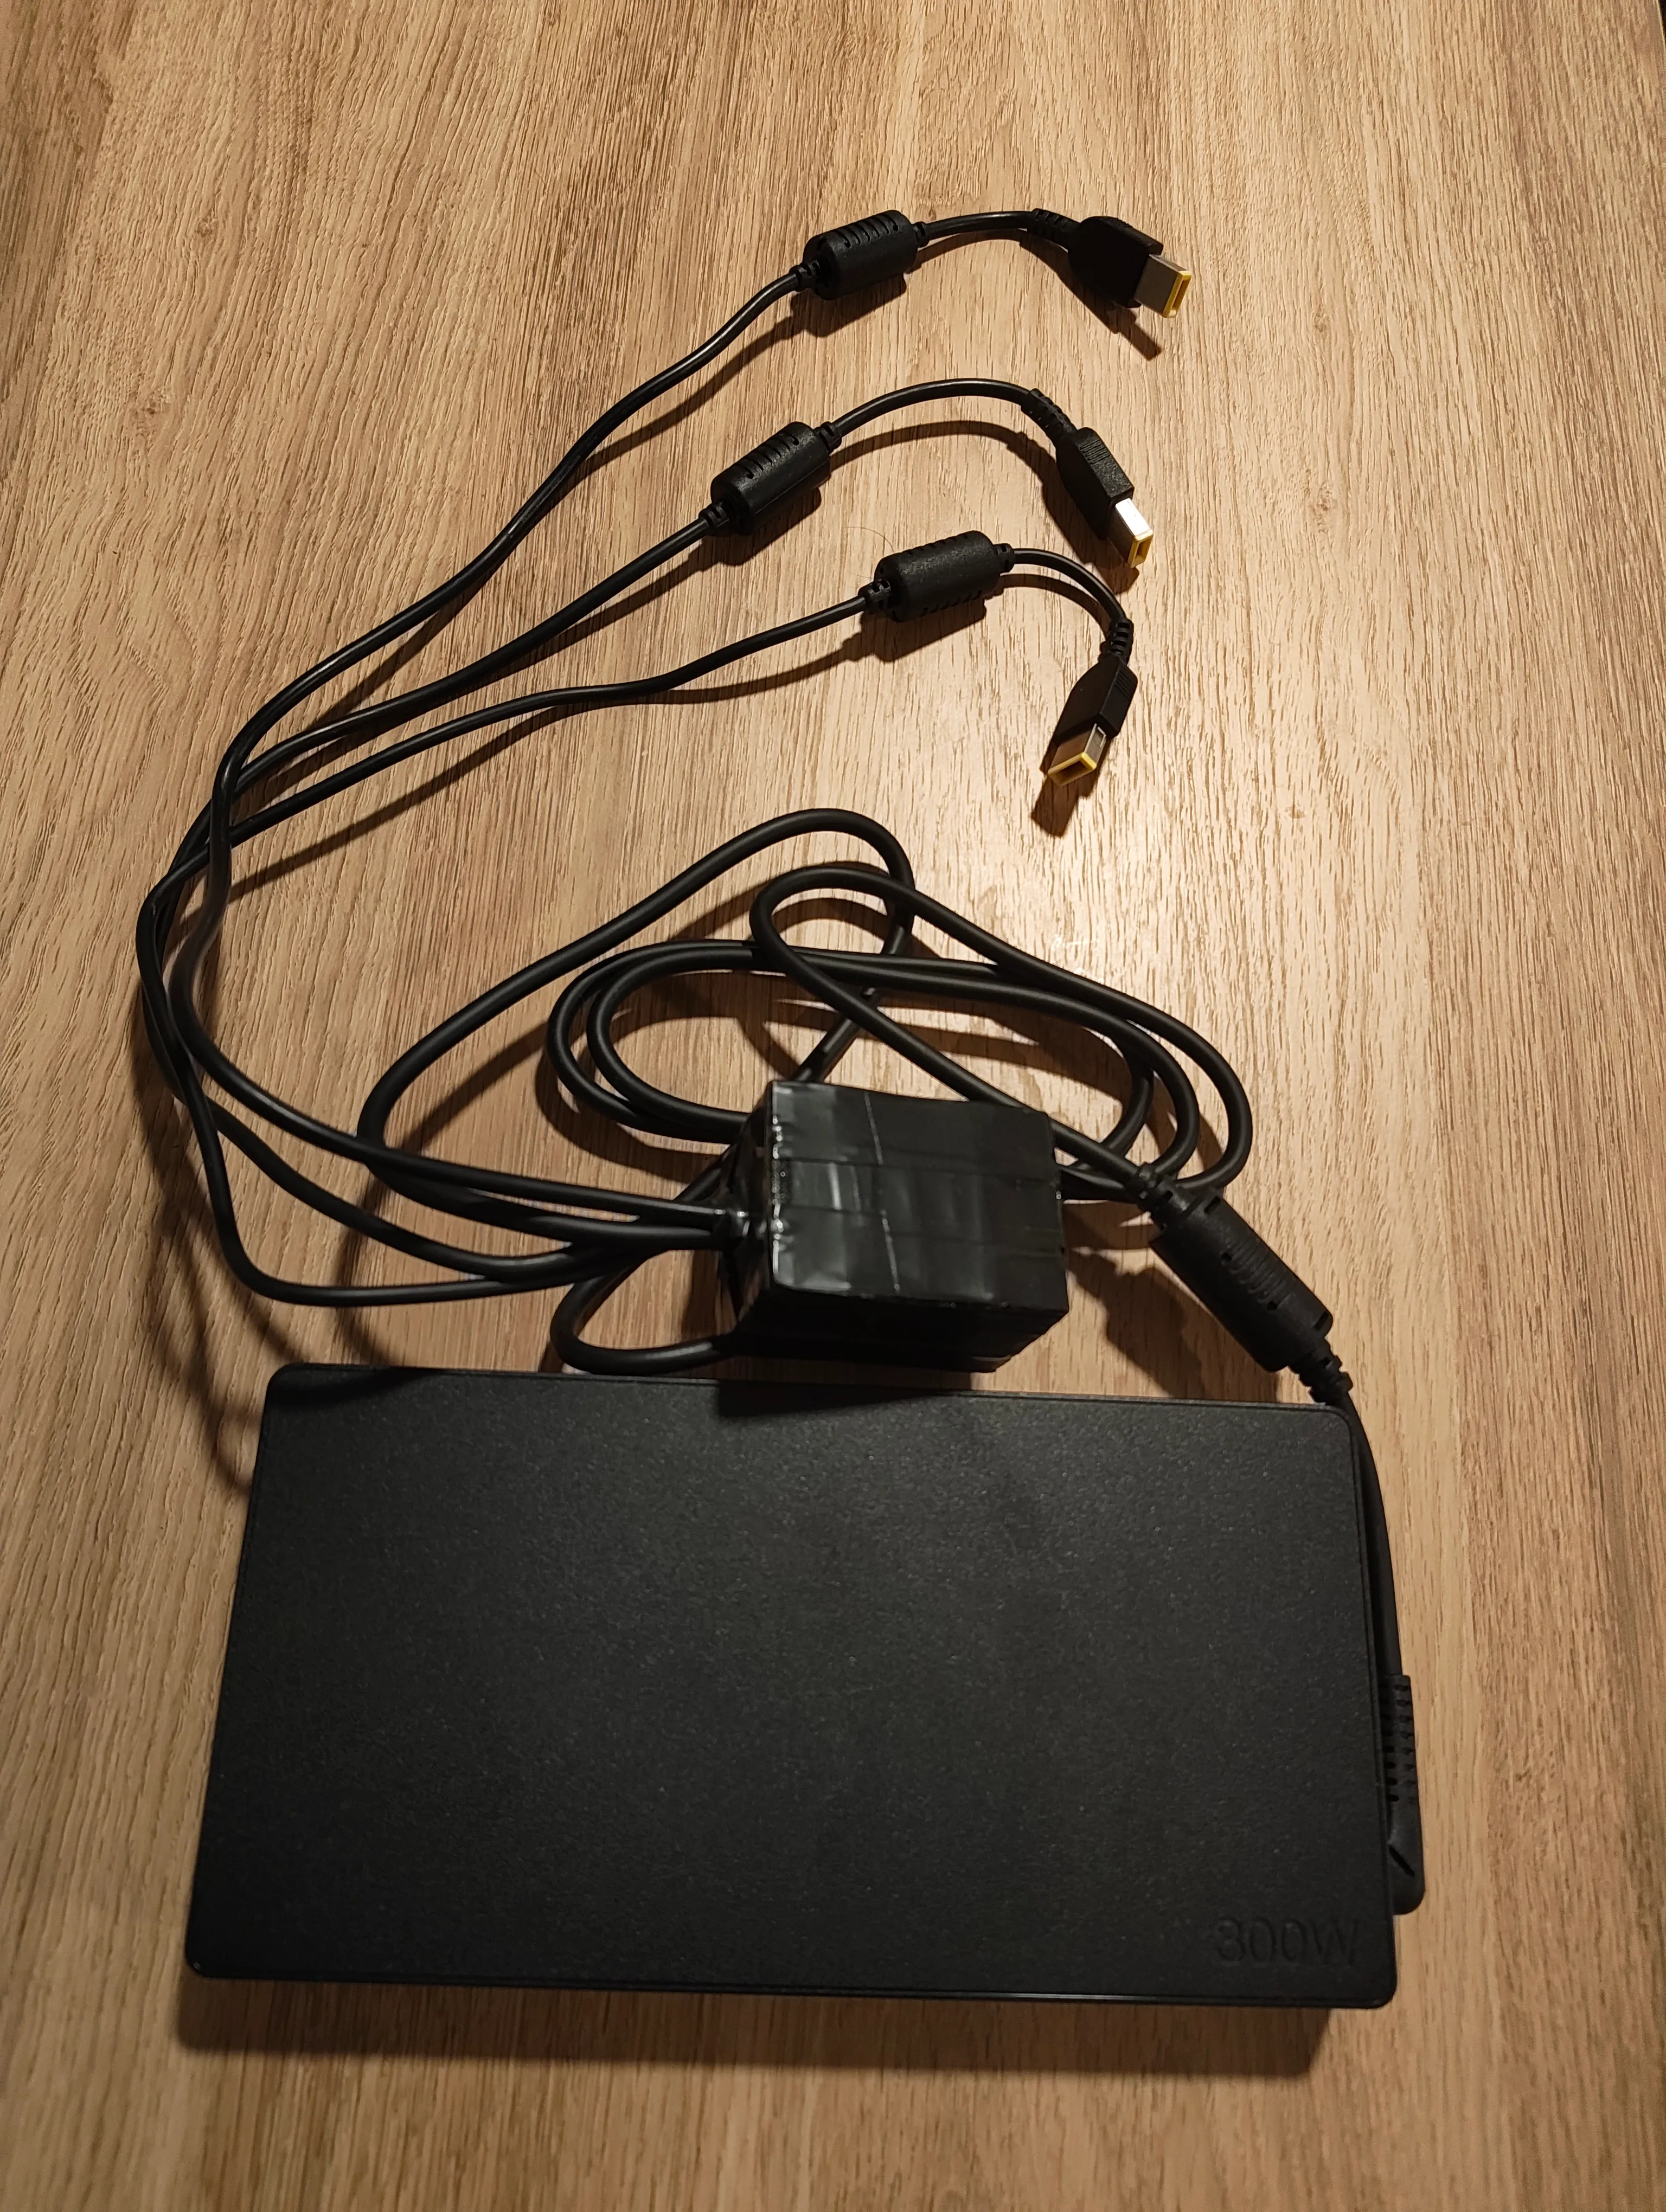
- Power supply: 1 x 300 W (20 V, 15 A) Lenovo slim-tip charger.
Step 1: Make a single power splitter
Each ThinkCentre comes with its own power brick. Three bricks means three sockets on a 4-way power strip, which leaves almost nothing for future machines and projects in the rack.
Instead, we use one 300 W brick and split its DC output into three cables, one per ThinkCentre. The three outputs with the yellow, square Lenovo slim-tip connectors come from the original power cords of the computers, which we cut. Each computer peaks under 100 W, so a 300 W brick is more than enough for the three of them.
All the joints are soldered and protected inside a 3D-printed case.
Warning
This is a DIY modification of a power supply. Respect the polarity on every output, and keep in mind that the cable between the brick and the splitter carries the current of all three machines at once. If you are not comfortable with soldering, buying one brick per machine is the safe option.
Step 2: Prepare the machines
Refurbished machines have had a previous life, so first we remove the dust and check the health of the three ThinkCentres.
Then we place each machine on its dedicated shelf and wire it to the shelf’s front ports:
- the display output (DisplayPort to HDMI cable) to the front HDMI port of the shelf,
- the Ethernet port to the front Ethernet port of the shelf,
- the power from the power splitter.
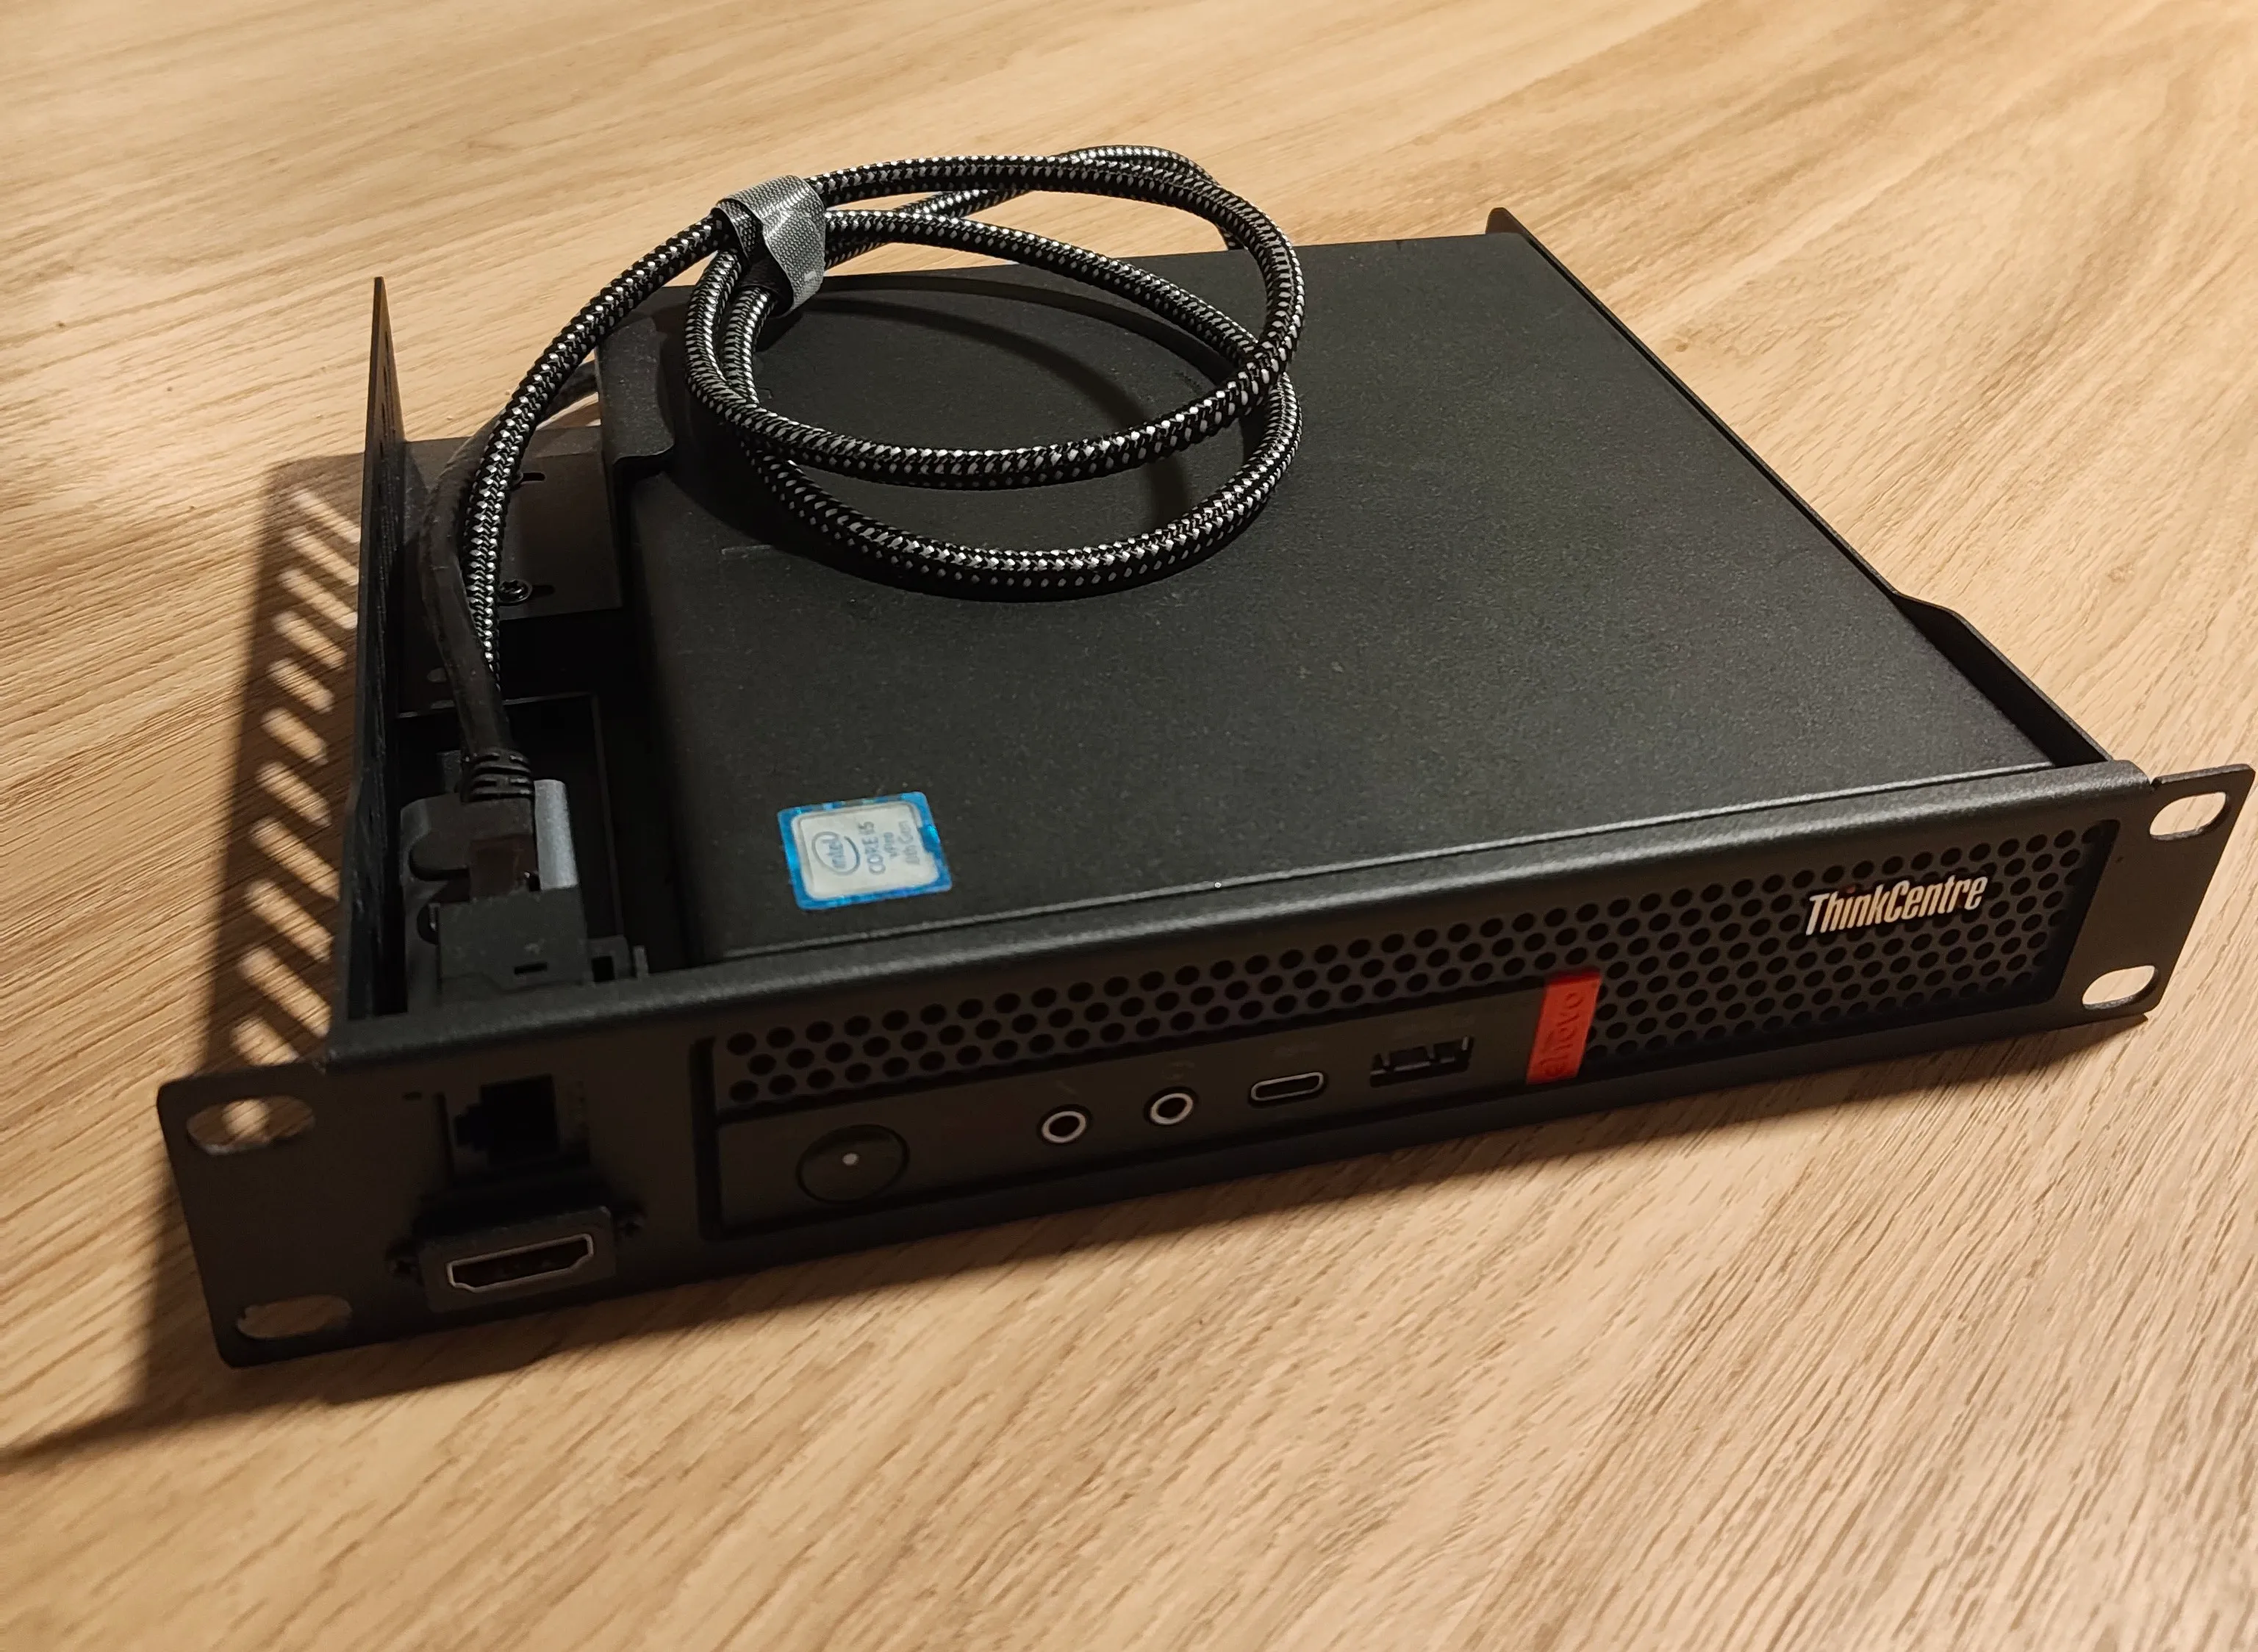
This way, plugging a screen or a network cable into a machine never requires opening the back of the rack.
Step 3: Assemble the homelab
Now we assemble the server rack.
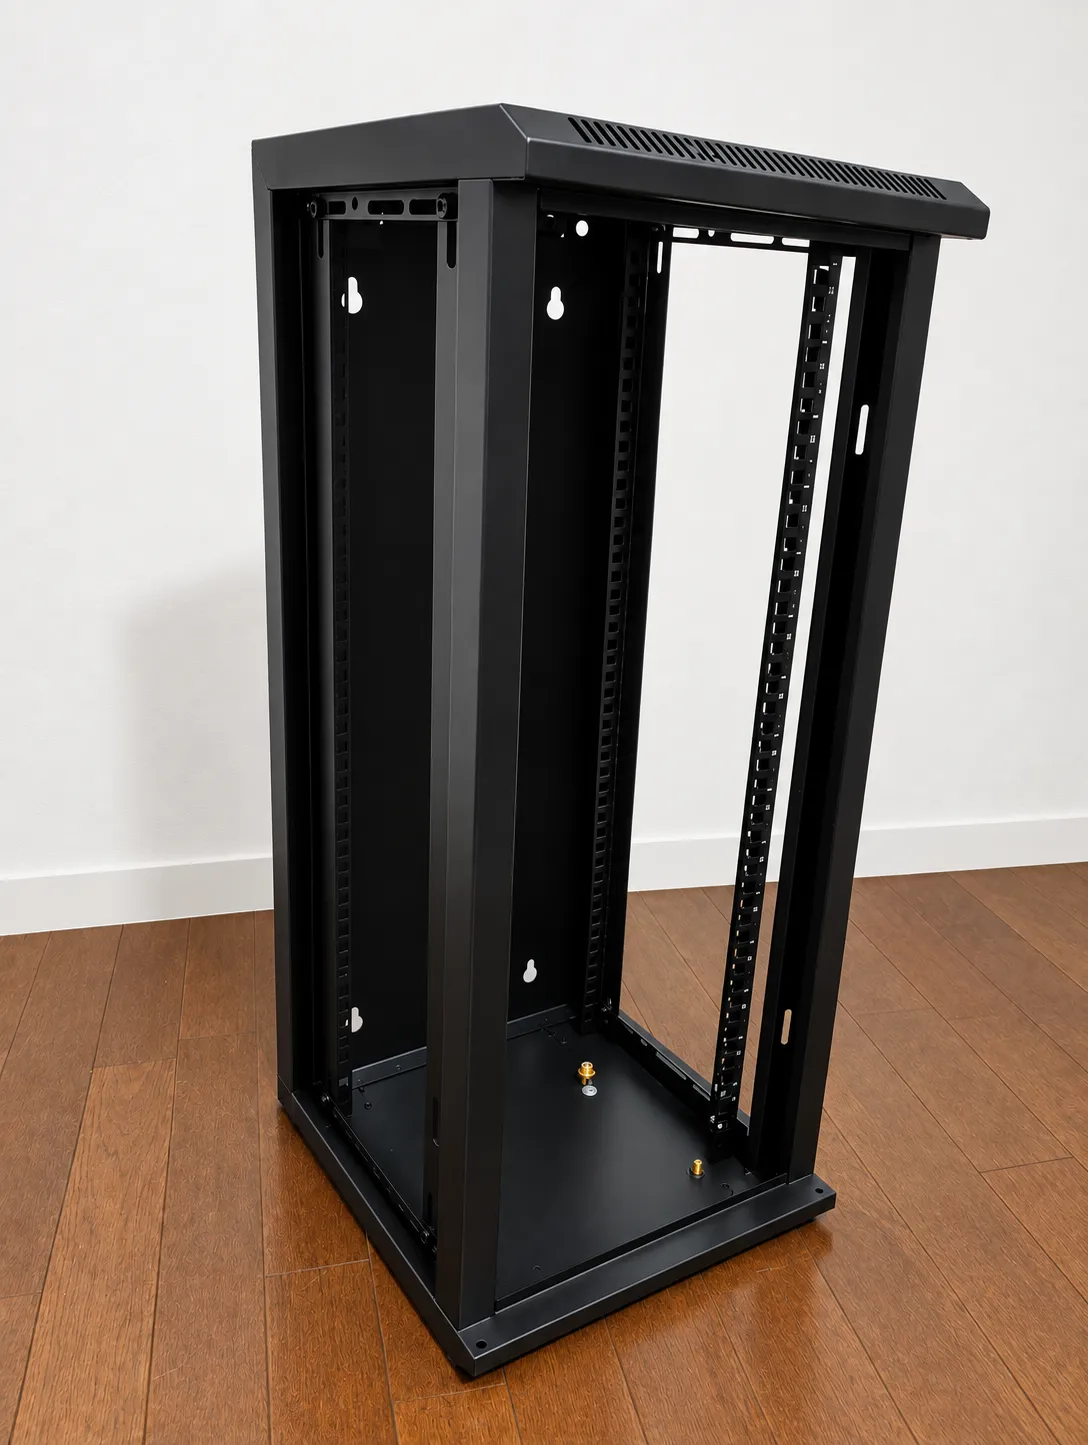
Then we fill it up, from top to bottom:
- Patch panel: at the very top.
- Switch: right behind the patch panel, with each port of the patch panel connected to it.
- ThinkCentre shelves: below, spaced by 1/3 U, leaving the first 1/3 U for the patch panel.
- Power strip: at the very bottom of the rack.
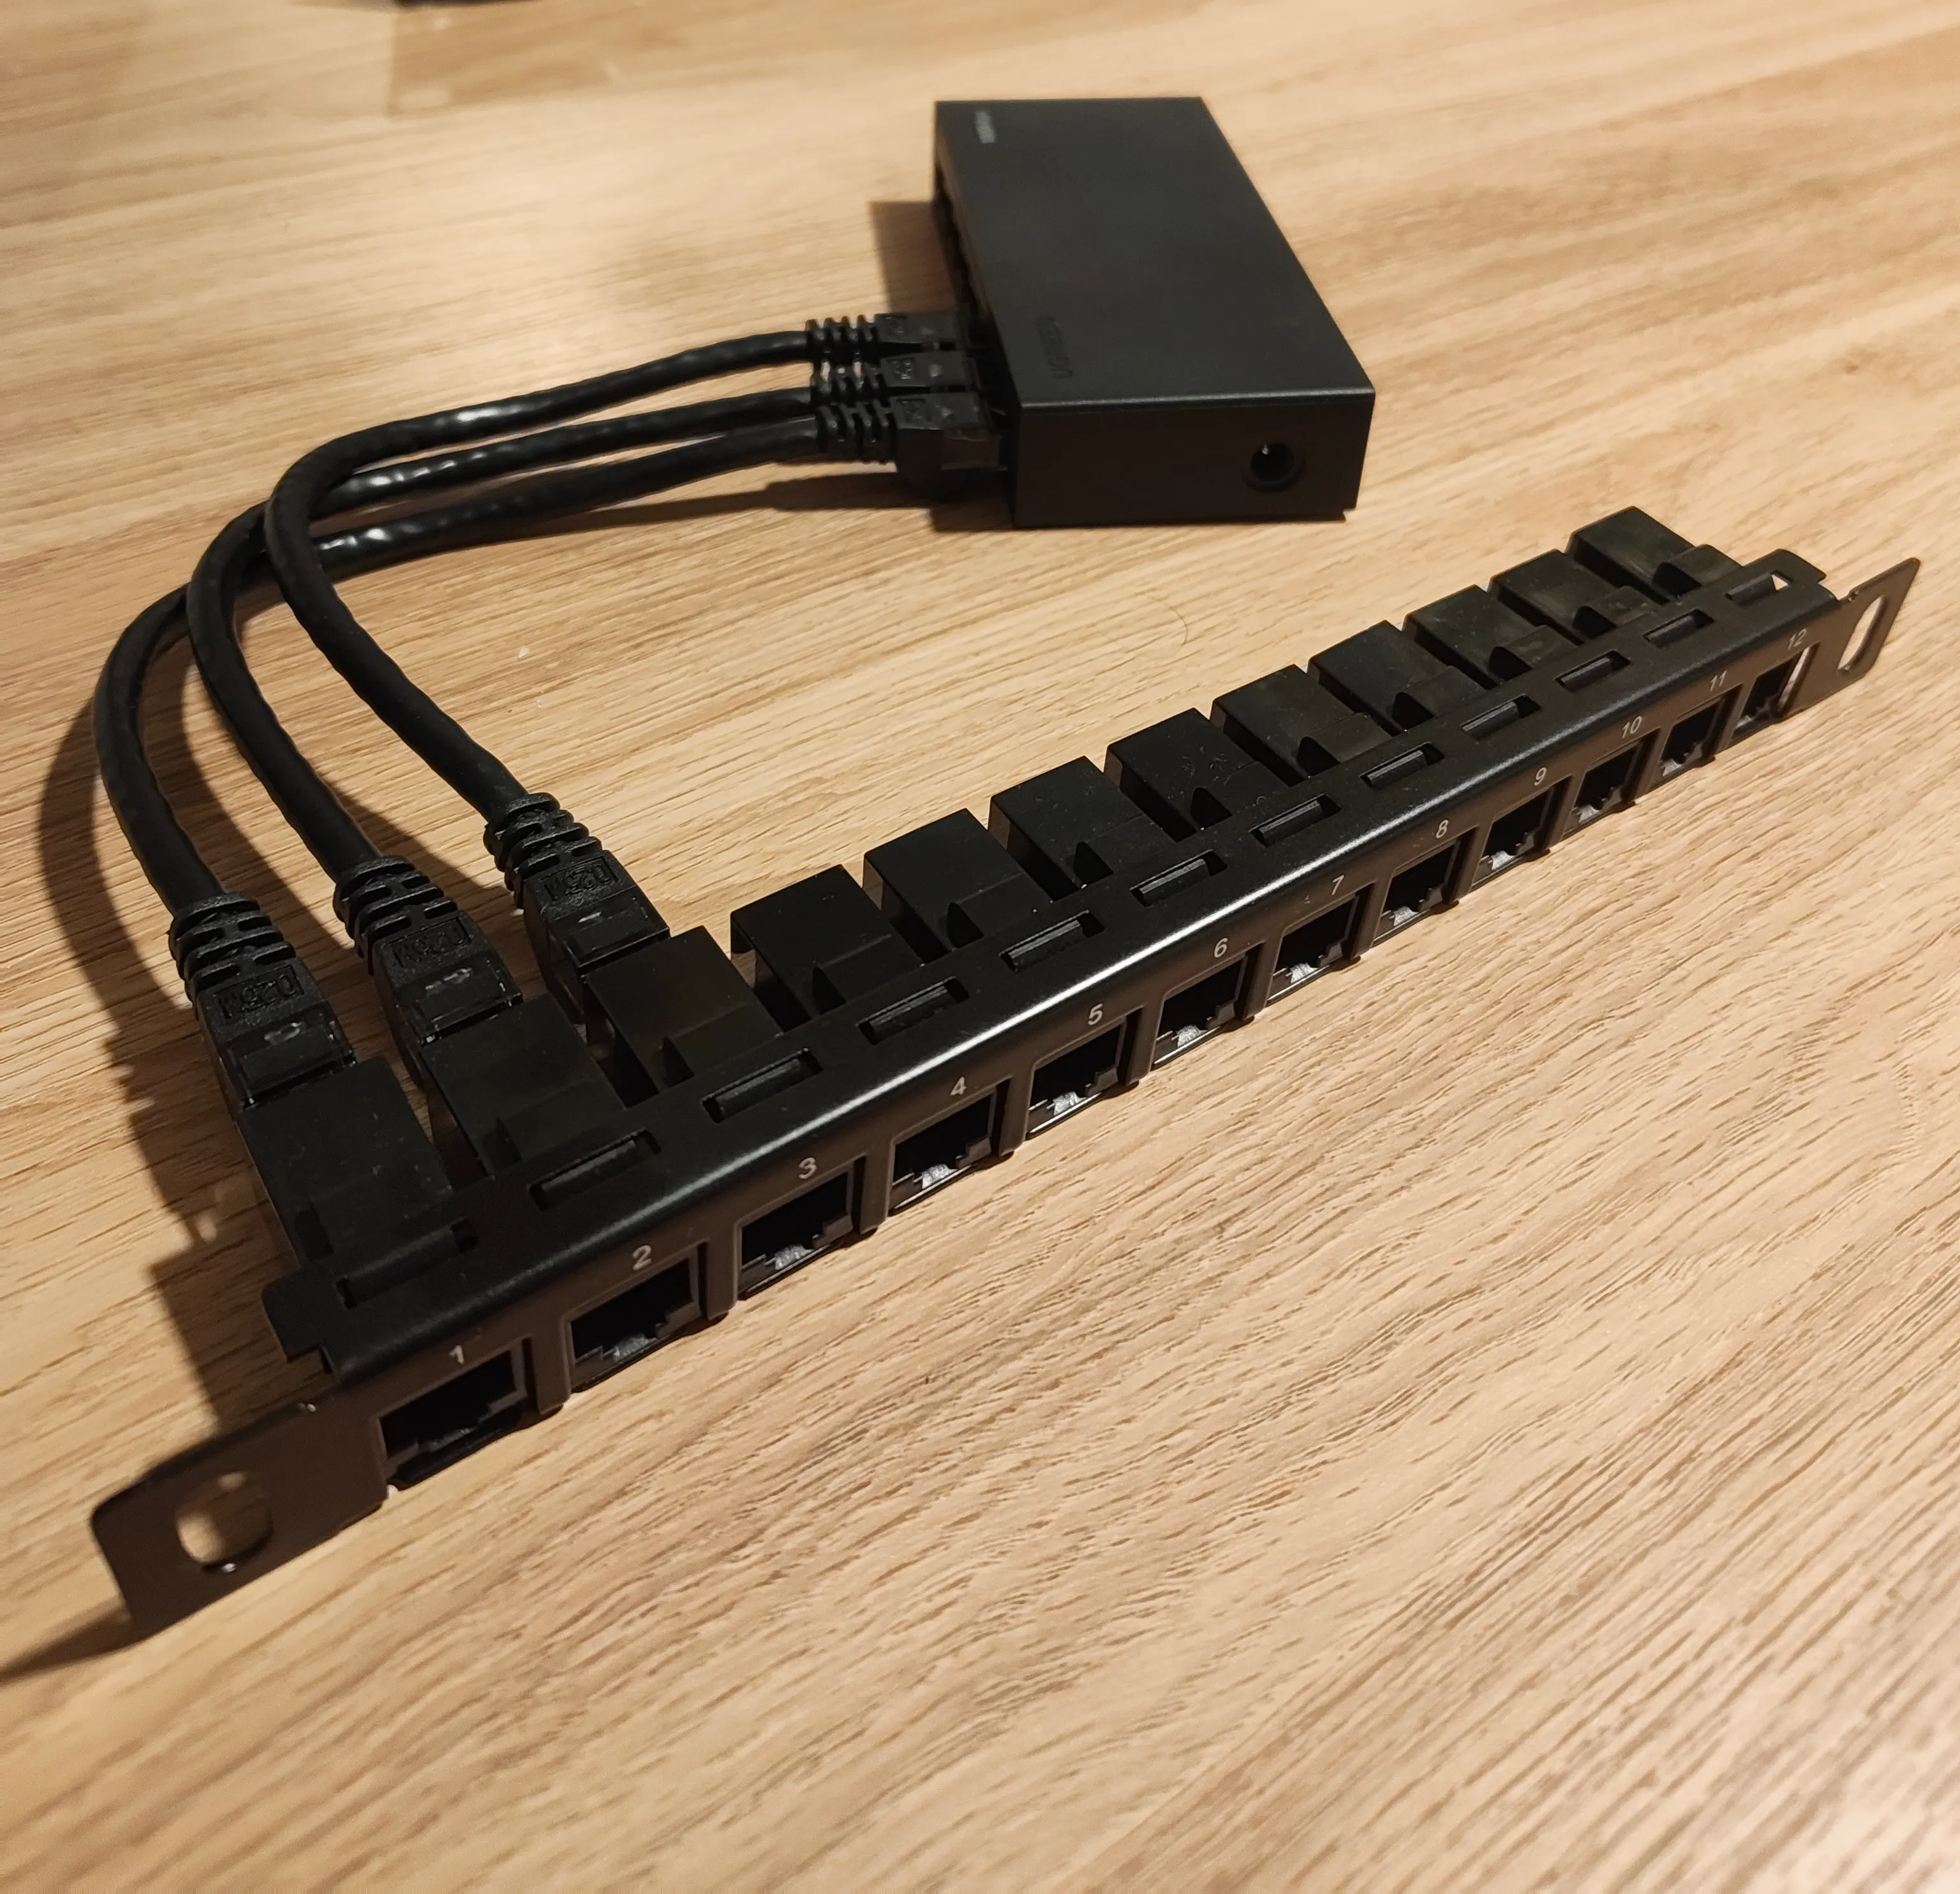
The router goes on top of the rack, not inside it: a metal cabinet is bad for Wi-Fi reception. An Ethernet cable connects the router to the switch.
Finally, we connect the front Ethernet port of each ThinkCentre shelf to the patch panel.
Now that everything is in place, we can plug the different power cables into the power strip.
The result
Here is our first homelab:
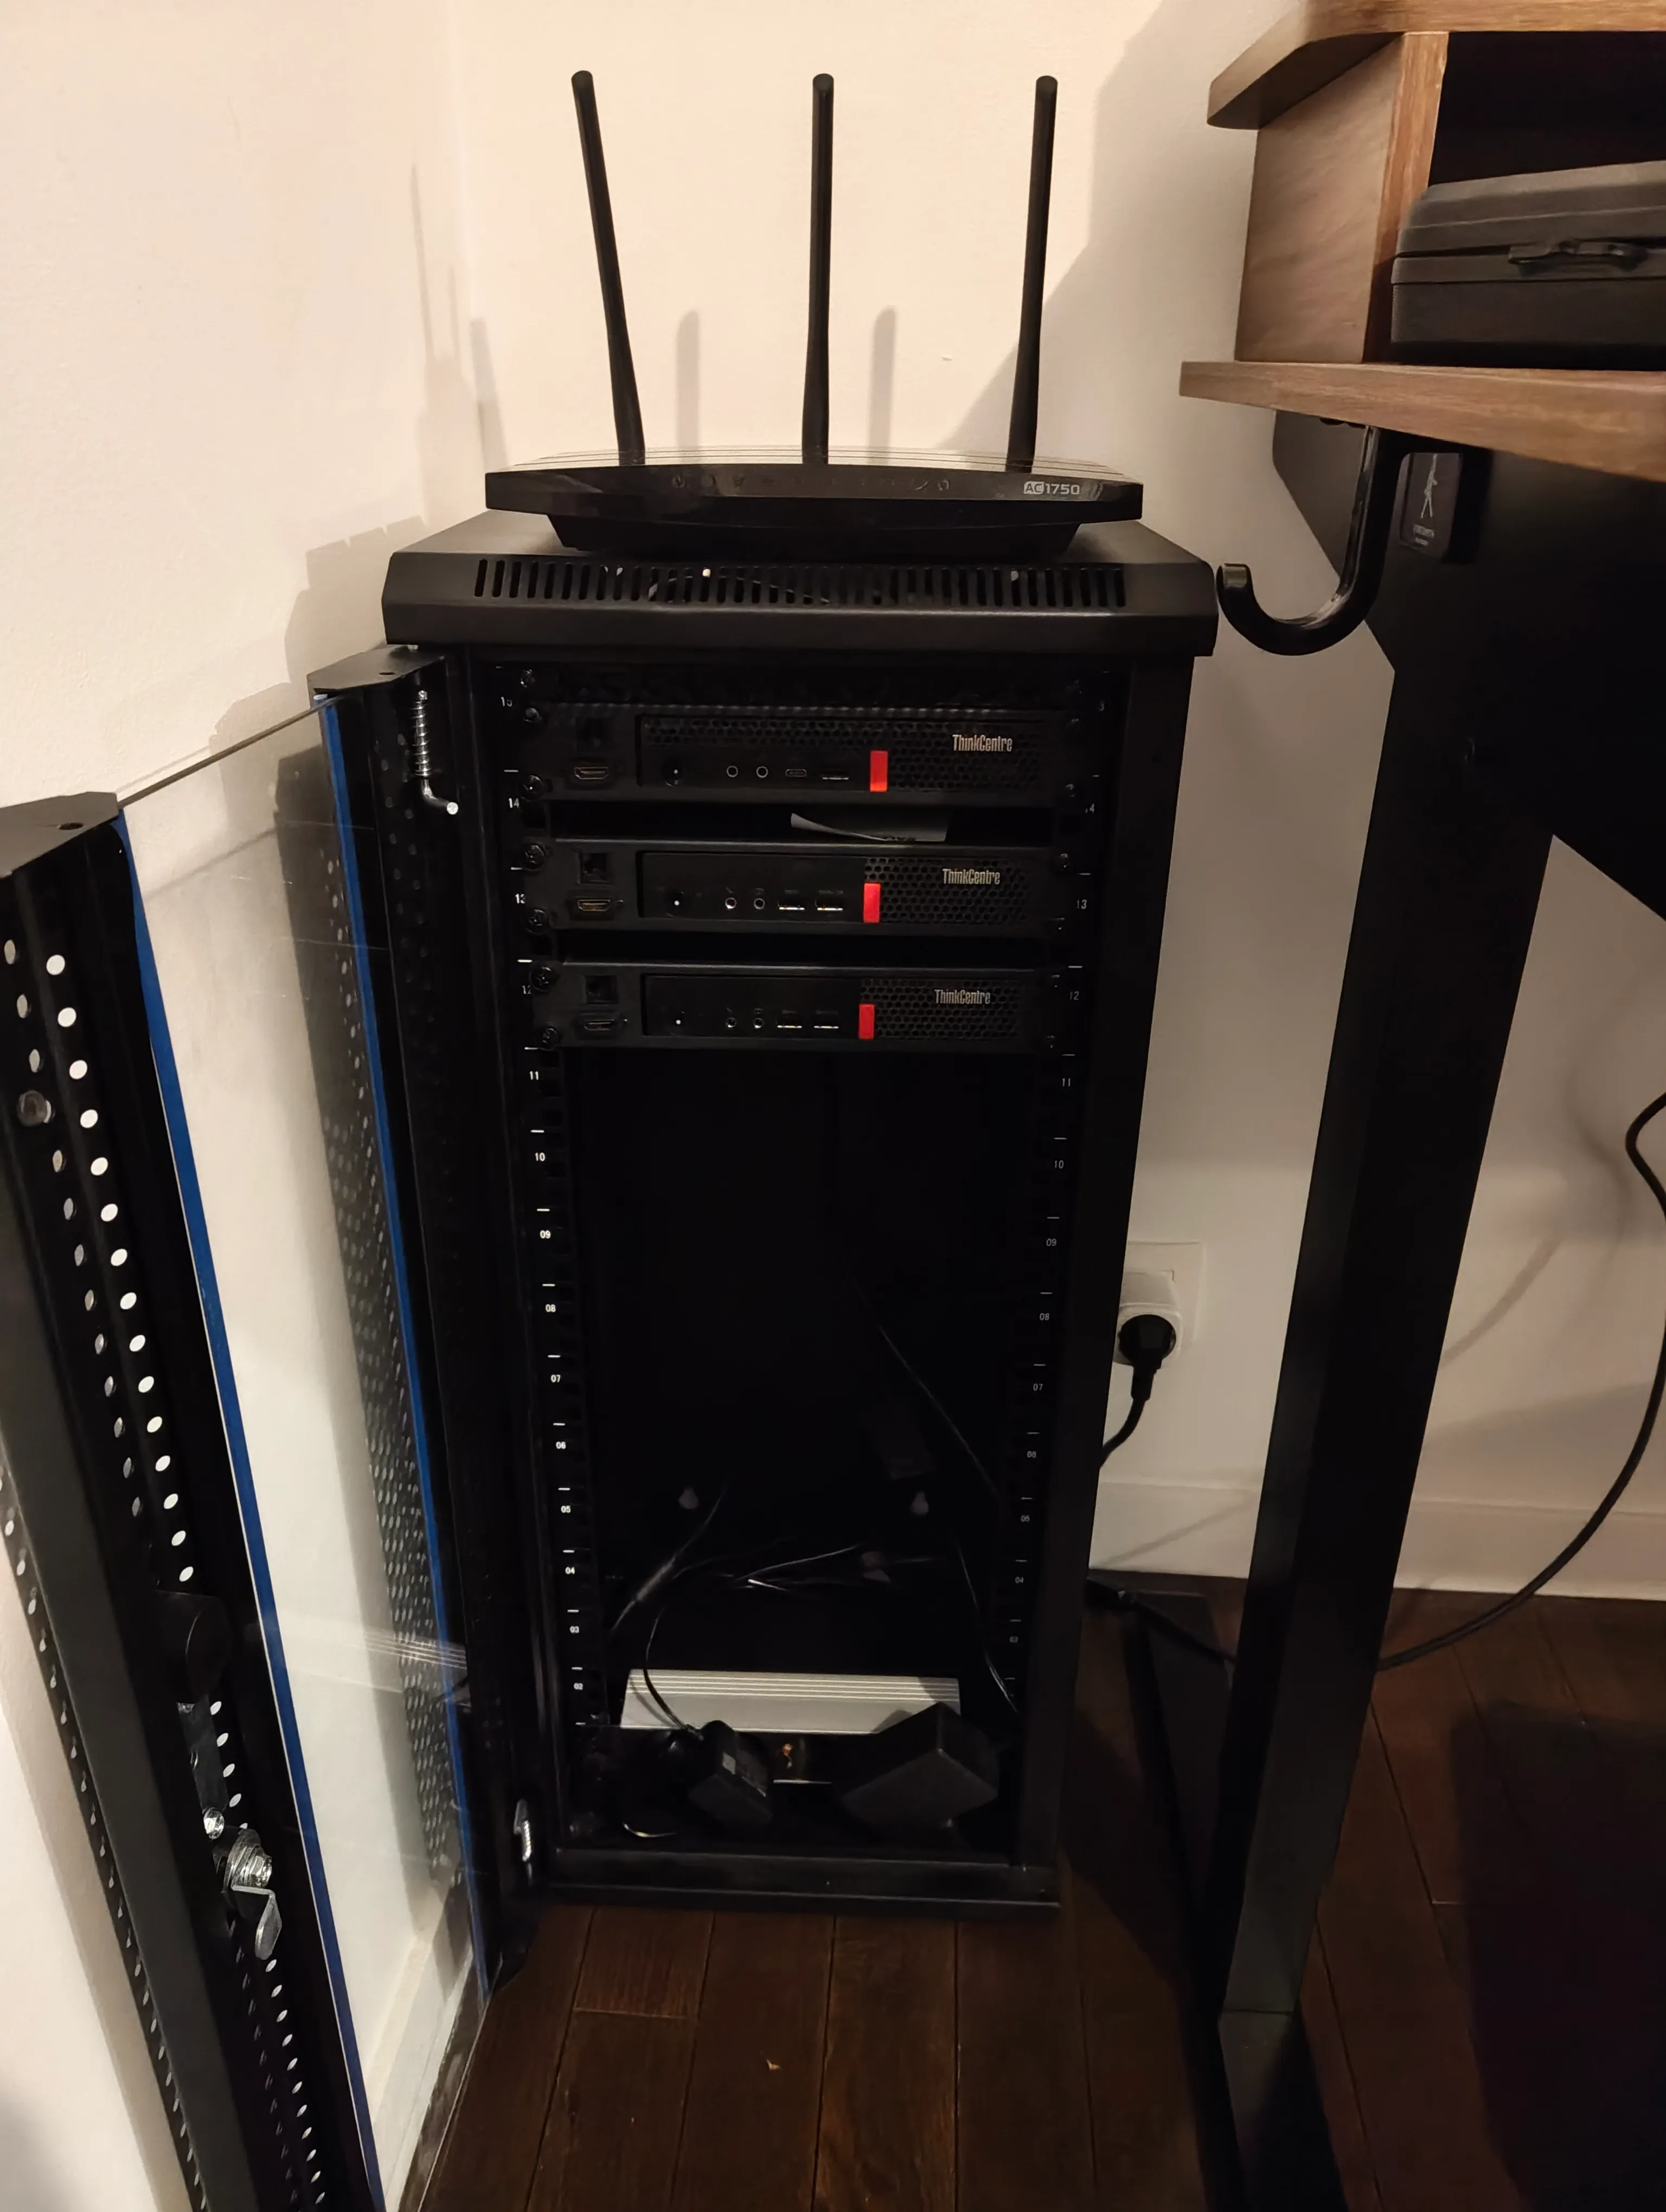
Three machines, one socket, and plenty of free space in the rack for what comes next. In the next articles, we will install an OS on these machines and turn them into our first orchestrated cluster.
Where this post fits
This post, its tags, and everything they connect to. Open the full graph →
Nothing to map yet — tag a post, or link two posts together, to see them here.
No posts or tags match your search.